Trying Out Basic Nodes
In this document, we will explore the usage of default provided node classes in the plugin, learning the basics of script creation through them.
Monologue Node
The Monologue Node is used to express dialogue among multiple speakers.
As explained in the Creating Your First Dialogue document, you can type the desired dialogue context into the text box in the middle of the graph node, then specify the speaker or listener, and it will be ready to use. You can specify multiple characters as the speakers and listeners of the dialogue.
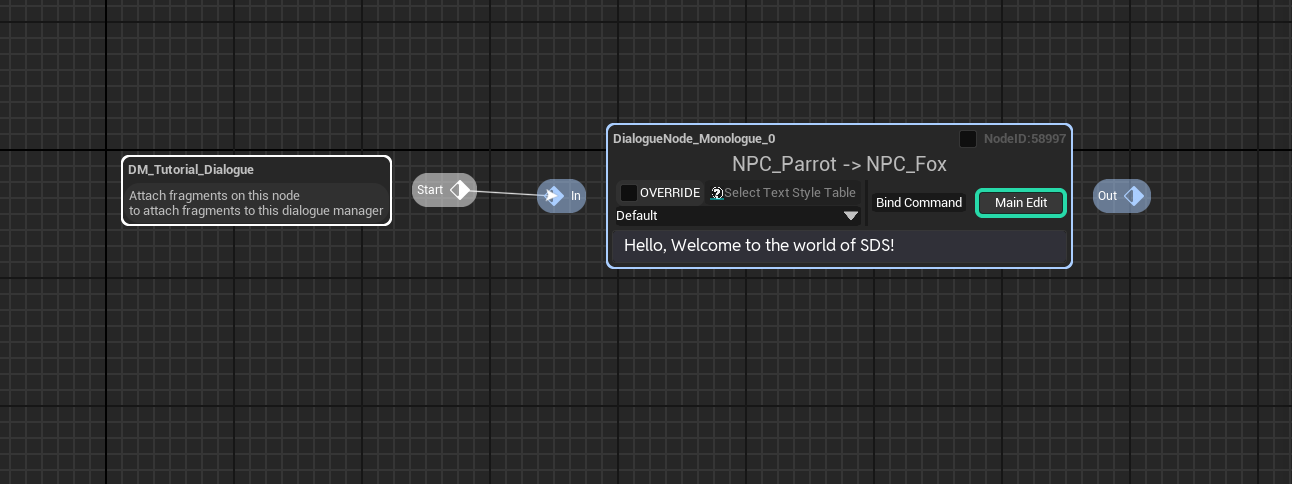
The execution result is as follows.
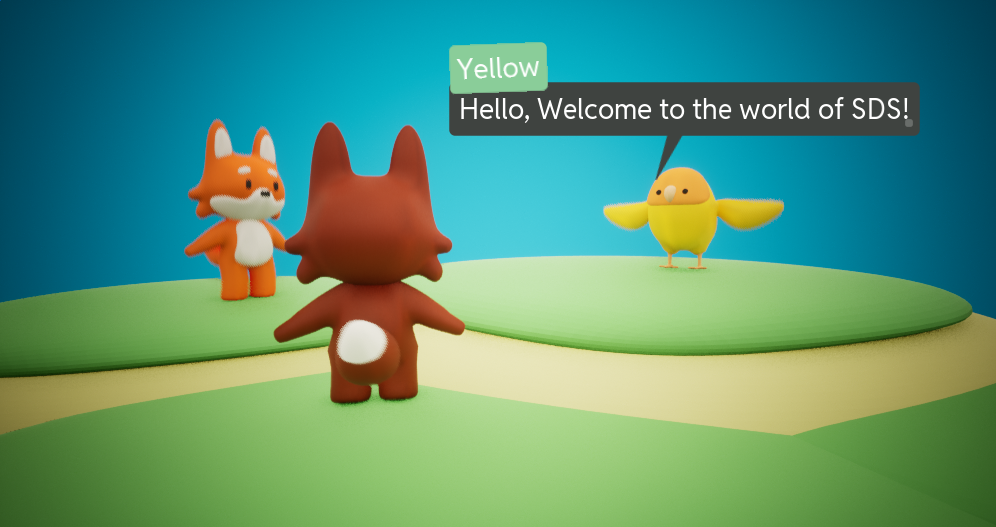
You can see the speakers' display name we specified being displayed on the widget's speaker box and expressing the script we provided.
Select Node
You can express a question and their corresponding answers with the Select Node.
You can add a question text and possible answers that the player can choose.
First, create a node, specify the participants, and input the question text.

Then, in the Details tab of the select node, add new elements to the Answers property to input the answers to be displayed on this node as the answers to the questions.
Now, you can see the answers we added displayed on the graph node.

Let's add some more answers and fill out some text into them.
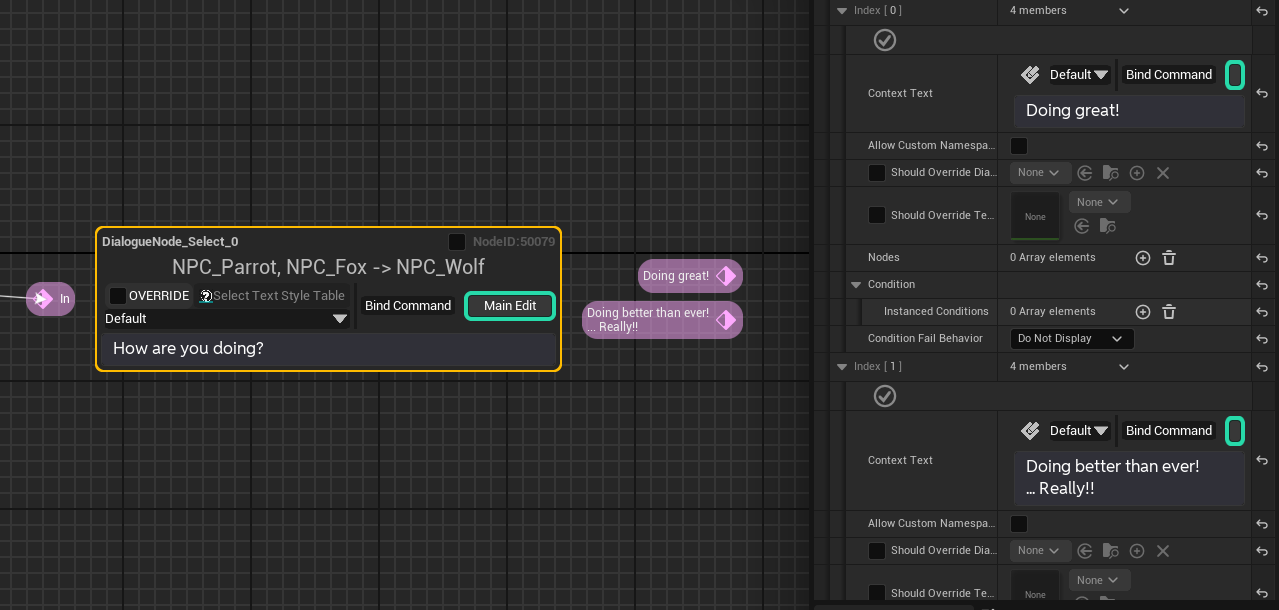
Each answer will be implemented as a pin on the node, and you can attach nodes to be executed when each answer is selected, allowing for simple branching control.
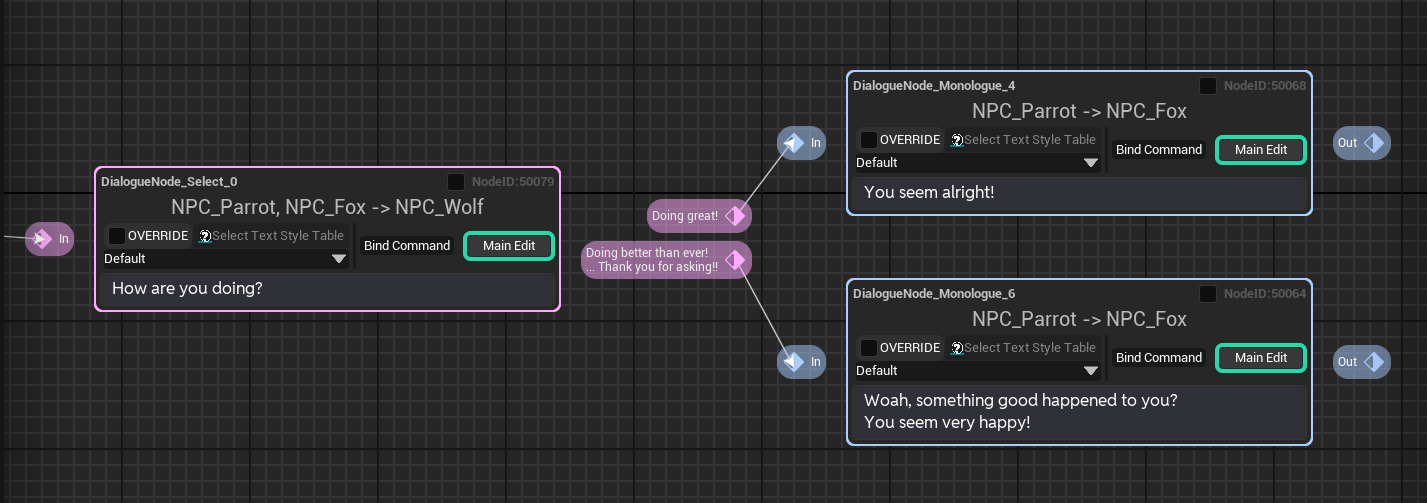
The execution result is as follows.
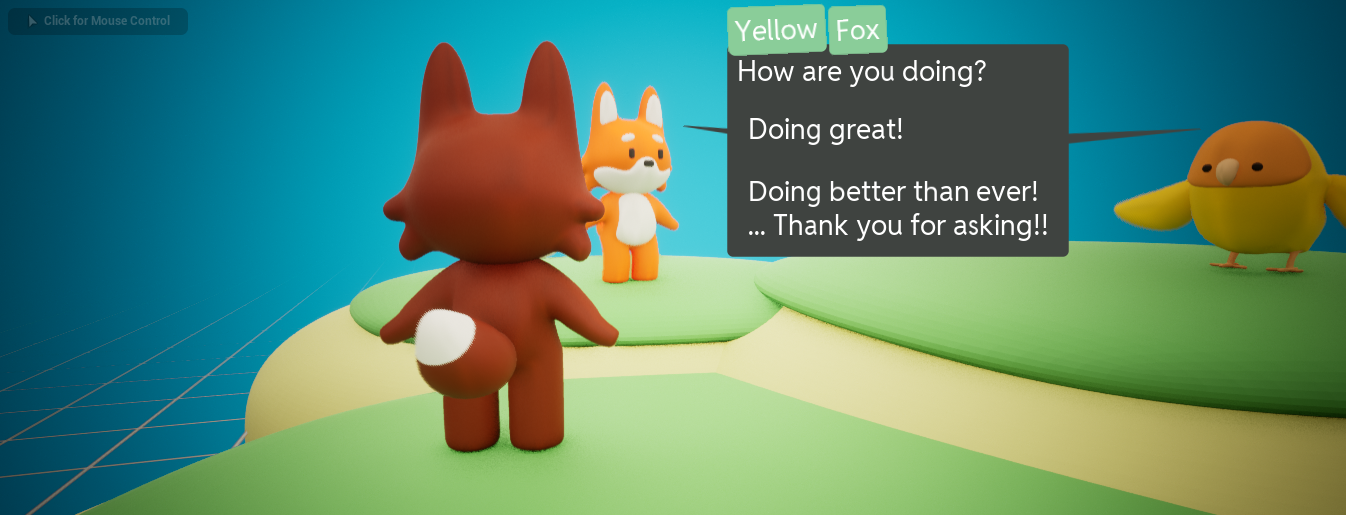
You can see the question text and the answers we added displayed correctly. Let's choose the first answer here.
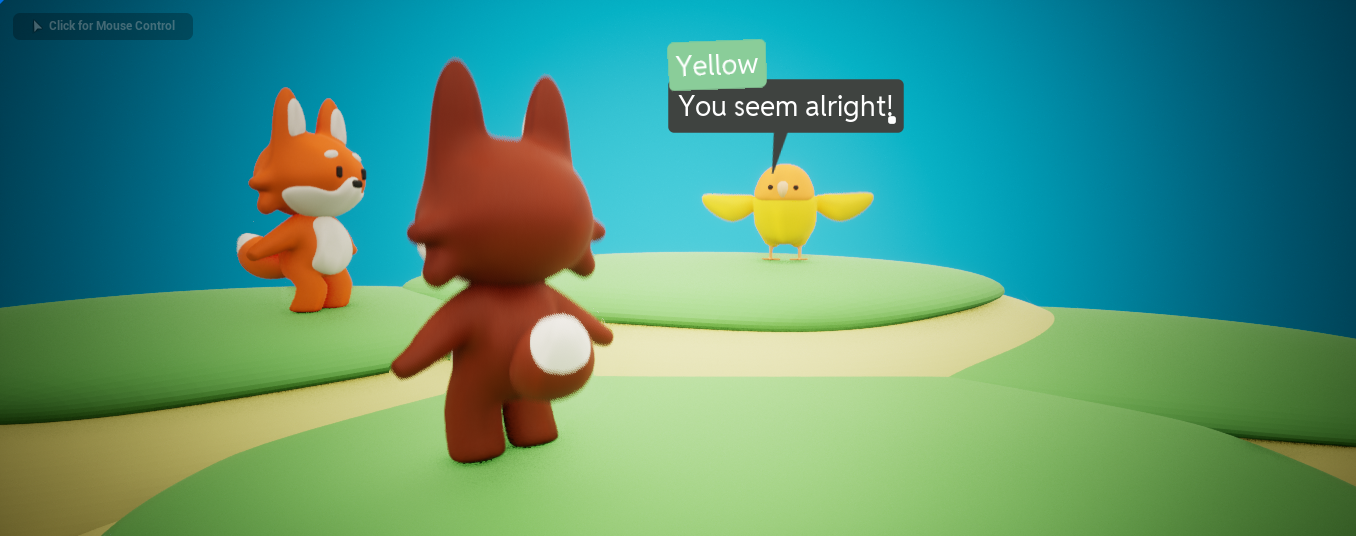
Then, you can see the node connected to the first answer being played.
Button Styling
We provide properties named Button Text Style Table and Button Text Holder Widget Class and you can specify the class and style table that the buttons will use by default.

Change it to set the buttons' default Text Style Table and Text Holder Widget Class. In this tutorial, we set it to use the class we made on the Styling Context Texts and Text Holder Widget document.
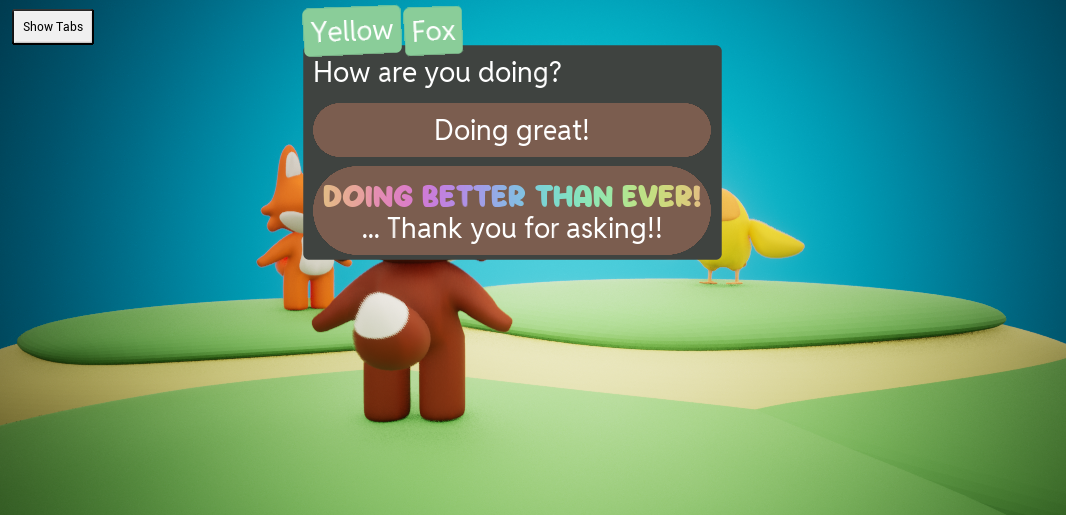
You can see the buttons now have the custom Text Holder Widget we made before.
If those were not specified, It will use the plugin's default button class asset and hosting dialogue manager's default context text style table asset.
Also, as like the other context texts in the plugin, you can also stylize the text of the anwser element with the context text editor.
Go to the detail tab of the select node, and find the answer element you want to stylize. and do the same thing as we did in the Styling Context Texts and Text Holder Widget document.
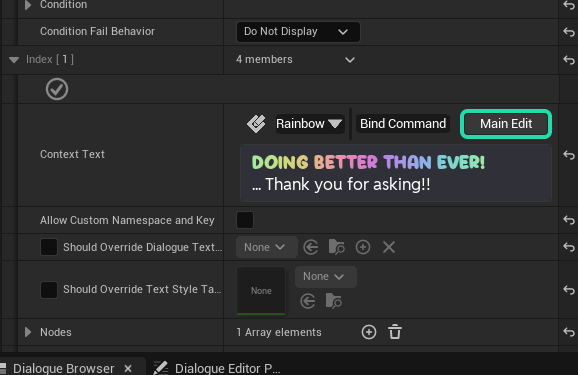
Stylize it on the detail tab,

Then you will see the pin's label text is also showing the stylized result.
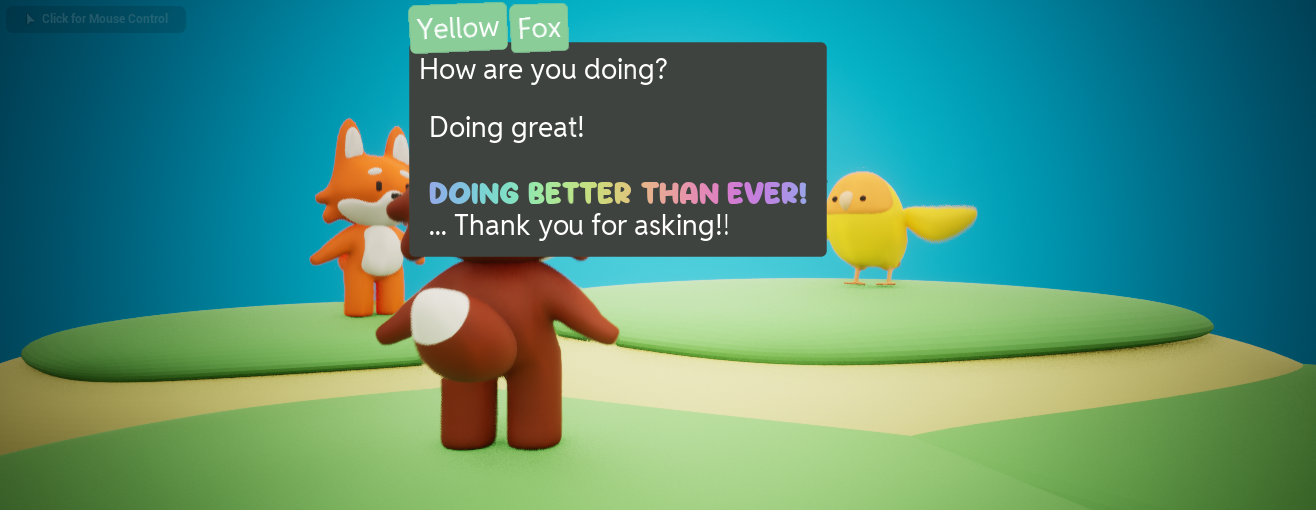
If you run it, you will see the following result.
You can also specify the text style table and text holder widget class by each answer. If you specify it, it will override the default Button Text Style Table and Button Text Holder Widget Class for the select node.
Displaying the Answer Buttons Manually
Select Nodes will display the Answer buttons automatically when the text update finishes, but you can display the buttons when the text update meets specific location of the text instead of the end of the text.
The plugin provide a Dialogue Inline Command named DI_StartSelect for Select Nodes that execute the generation of the answer buttons, and we will use that. Click the location in the text where you want to insert the command, click the Bind Command button, and select StartSelect.
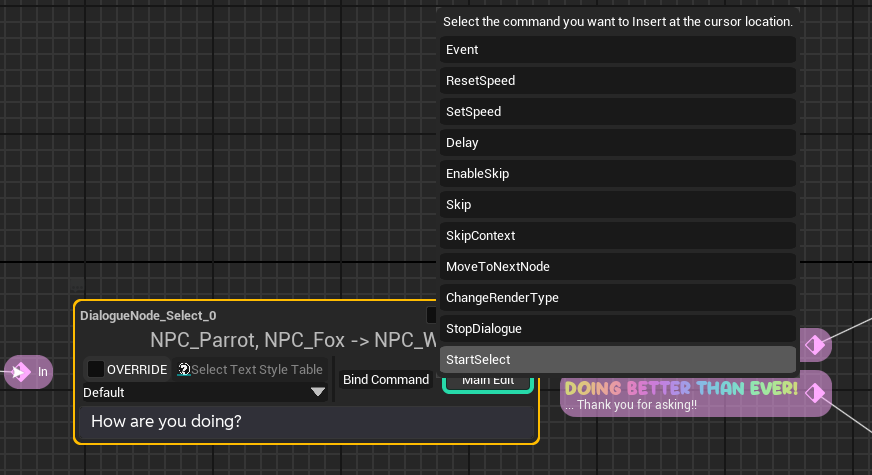
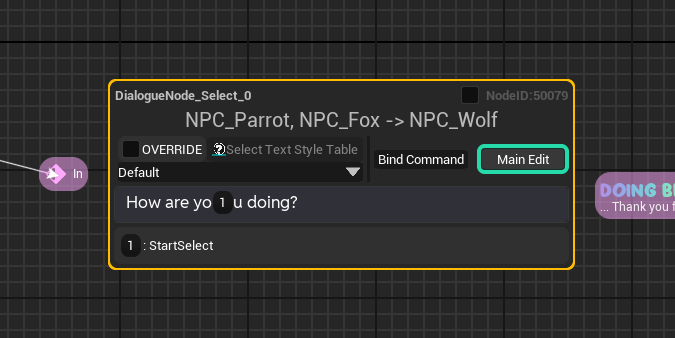
Now, the StartSelect command has been bound as follows, and if you run it, then you will see the buttons are now being displayed when the text update meets 'o' from the 'you' in the text we set.
Plus, you can completely turn off the feature that automatically displays the buttons if the buttons aren't ever generated.
Set the Create Answer Buttons Automatically property to false if you want so.

This is for some rare occasions where you have to control the select node including controlling it outside from the Dialogue like sequencer or gameplay cutscenes.
If you don't create the buttons manually with some additional logic, then it will never create any buttons and users will not proceed further the select node. Be careful when you turn off this feature.
Conditional Answer
We also provide a method control whether to hide out/disable answer buttons with dialogue conditions.
You can see the properties named Condition and Condition Fail Behavior from the answer element.
If the condition you provided fails, it will hide / disable the button according to the Condition Fail Behavior.
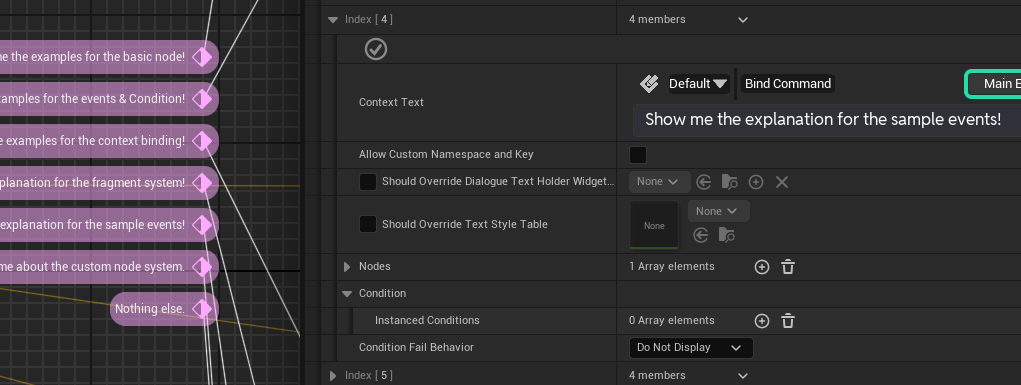
refer to the release note for more detailed explanations.
Random Node
The Random Node selects and executes nodes connected to the output pin based on a specified random logic.
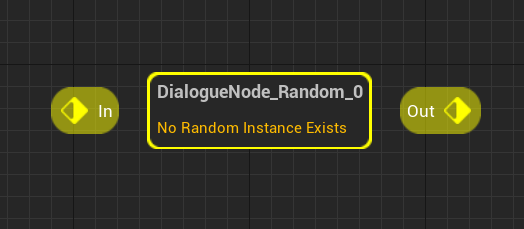
After adding a node and connecting it to the previous node, we connected the nodes we wanted to play randomly to the output pin of the Random Node.
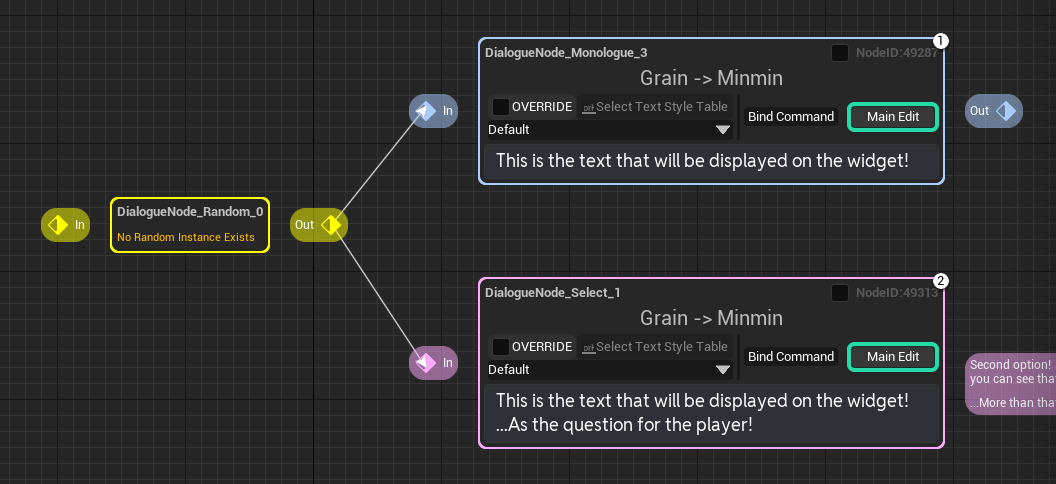
Then you need to select the Random Instance. Of course, you can use the default provided Randomizer Instance, but let's create a new one this time. Random Instance is a class that handle the calculation of the chance of playback for each nodes.
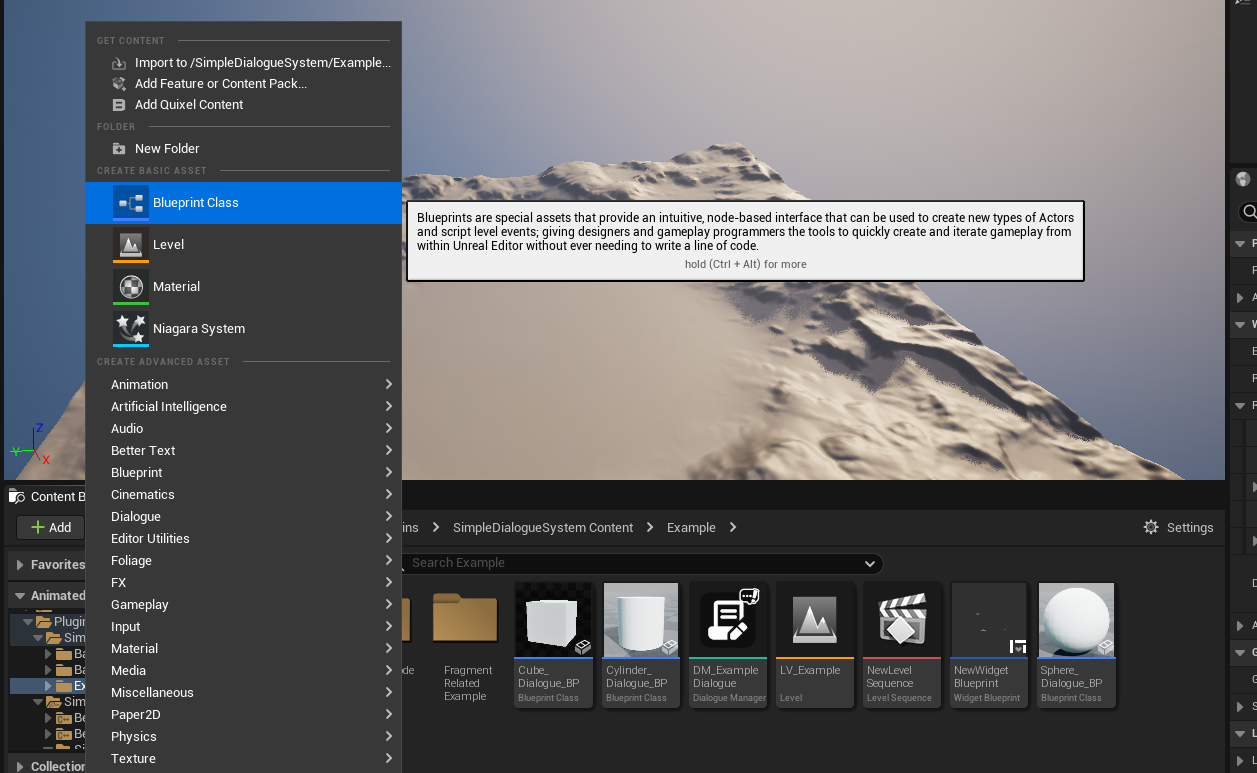
Press the Create New Blueprint button on the Content Browser and select the Dialogue Random Instance.
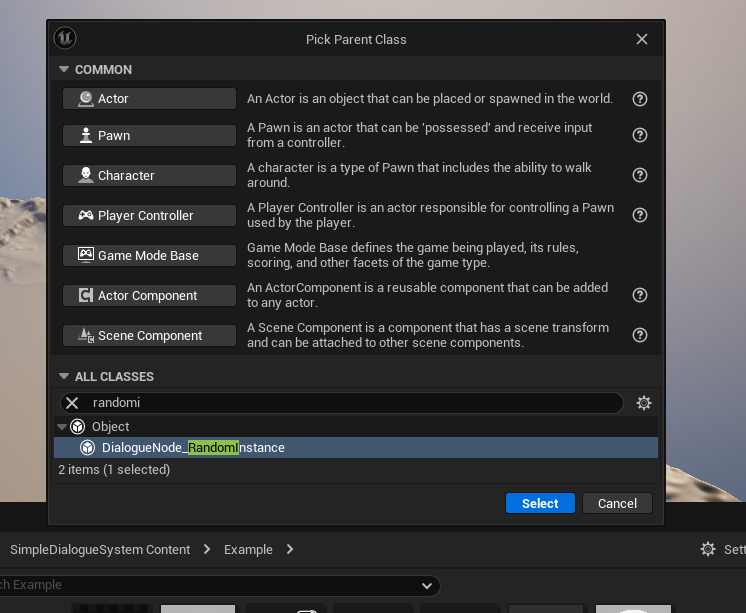
Go into the created blueprint and override the CalculateChance function.

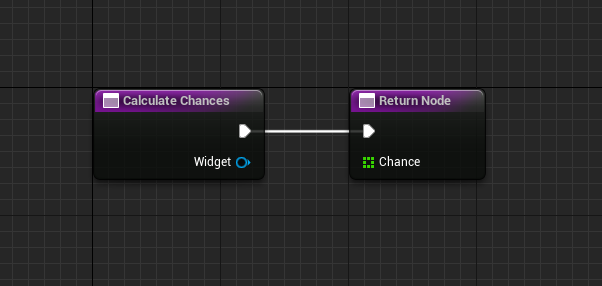
This function is responsible for calculating and returning the function to be executed for each node.
The CalculateChance function of the Random Instance Node should pass the individual selection weights of the nodes connected to the output pin of the Random Node to the Return Array in the order (index) in which the nodes are connected to the pin.
As is common in programming languages, the starting index of the Chance Array is from 0. For example, the element index corresponding to the first node in the Chance Array is 0, the very first element.
Here, the term "selection weight" refers to the tendency of each node to be played, expressed as a number. CalculateChance calculates the final probability of each node's playback based on the ratio of each selection weight to the total probability, which is obtained by summing all the probabilities in the Chance Array.
For example, when connecting two nodes to the output pin, if you put 1 in the 0th element and 3 in the 1st element, the playback probability of Node 1 becomes 1/4 or 25%, and the probability of Node 2 being played becomes 3/4 or 75%. The same calculation applies when multiple nodes are connected.
This operational method allows for calculating the probability of each node without the need to compute the probabilities individually when a random number of various nodes are connected. By passing only the scalar values of weights, it reduces the burden on the user, which is why this approach was adopted.
Now, put this instance into the Random Node we created earlier and test it.
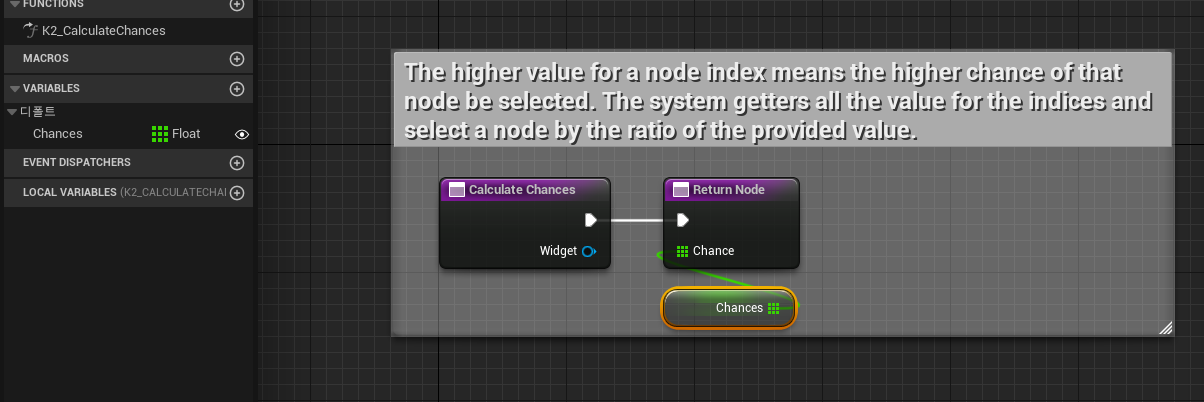

In this tutorial, we just made a variable and exposed it to the editor by marking it instance-able and public, and set the chance for each nodes in the dialogue manager editor directly. it play the first node at 25% chance, and the second one with 75% chance. Of course in the real usage, it can be driven by much more complex and unique logic that fit to your project.
Then, according to the logic we created, you can see that the next node is executed randomly.
Execute Node
The Execute Node sequentially executes all events registered in the node at runtime.
After creating the Execute Node, in the Details tab of the node, put events into the Events to Provoke property.

When actually executed, you can see that the events registered in the Execute Node are called when encountering this node.
Branch Node
The Branch Node controls branching based on the test results of the given dialogue conditions.
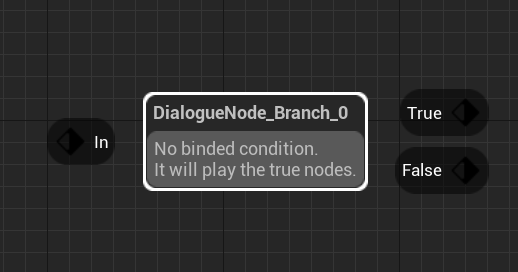
After creating the Branch Node, in the Details tab of the node, put conditions into the BranchConditions property.

When executed, depending on the execution results of the dialogue conditions registered in the node, if the test passes, nodes attached to the True pin are executed; otherwise, nodes attached to the False pin are executed.