Trying Out Dialogue Conditions
Dialogue Conditions are blueprint(or C++) asset than contain logic that decide whether to play a dialogue node, and drive the main way of branching of the dialogue system. you can freely write and use the logic you need. In this document, we'll learn how to create and use such dialogue conditions.
Creating Dialogue Conditions
Let's start by creating a dialogue condition. Open any Dialogue Manager and click on the Create Custom Condition button in the toolbar of the Dialogue Manager editor.
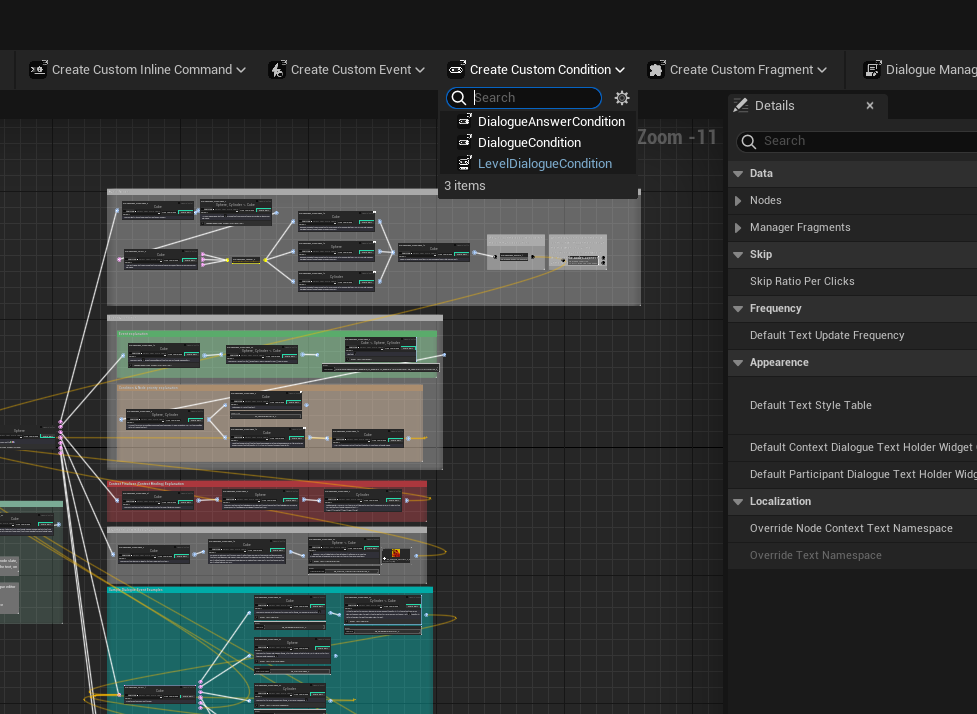
Now, choose the type of condition you want from the options presented.
| Type | Description |
|---|---|
| Dialogue Condition | often called as Instanced Dialogue Condition is a type of Dialogue Condition that can be instanced on the dialogue nodes and due to that only available to the specific dialogue manager |
| Level Dialogue Condtion | A type of Dialogue Condition that derived from the AActor class and can be placed on a level. and due to this, it can be easily shared between multiple dialogue managers. |
| Dialogue Answer Condtion | A type of Dialogue Condition that is derived from the Dialogue Condition, but with some utility for the conditional answer of select node. (We will talk about it later in another tutorial.) |
In this example, we'll choose Instanced Condition to create an instance dialogue condition.
And to make it easy to find, We'll rename it to "DC_Tutorial"
In the plugin, Dialogue Conditions usally use DC_ as their prefix.
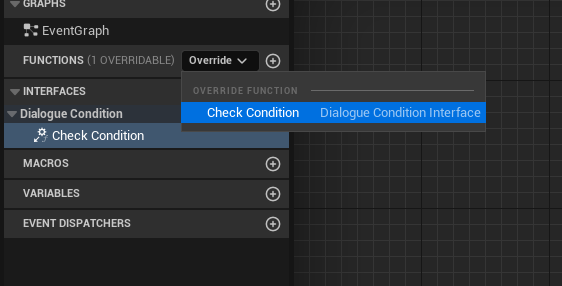
After creating the dialogue condition asset, the process of writing the condition logic begins by overriding the following function:
For C++ derived classes:
virtual bool CheckCondition(class UDialogueWidgetBase* Widget, const TMap<FName, UActorComponent*>& ConversationParticipants);
For Blueprint assets:
Implementing Dialogue Condition Logic
You have to implement the logic that checks the requirements for the condition. If the condition check is successful, return true; otherwise, return false.
In normal usage, if the return value of this function is true then the nodes(or the logic with it) will be executed or be played, otherwise, it will not.
Since we have created a Blueprint asset in the tutorial, let's follow the second method.
For a simple real-world usage explanation, let's assume a situation. We want the condition to pass only if the player stored enough amount of apple in the box.
You don't need to follow those extra steps becuase it's only for the explanation :D for sure
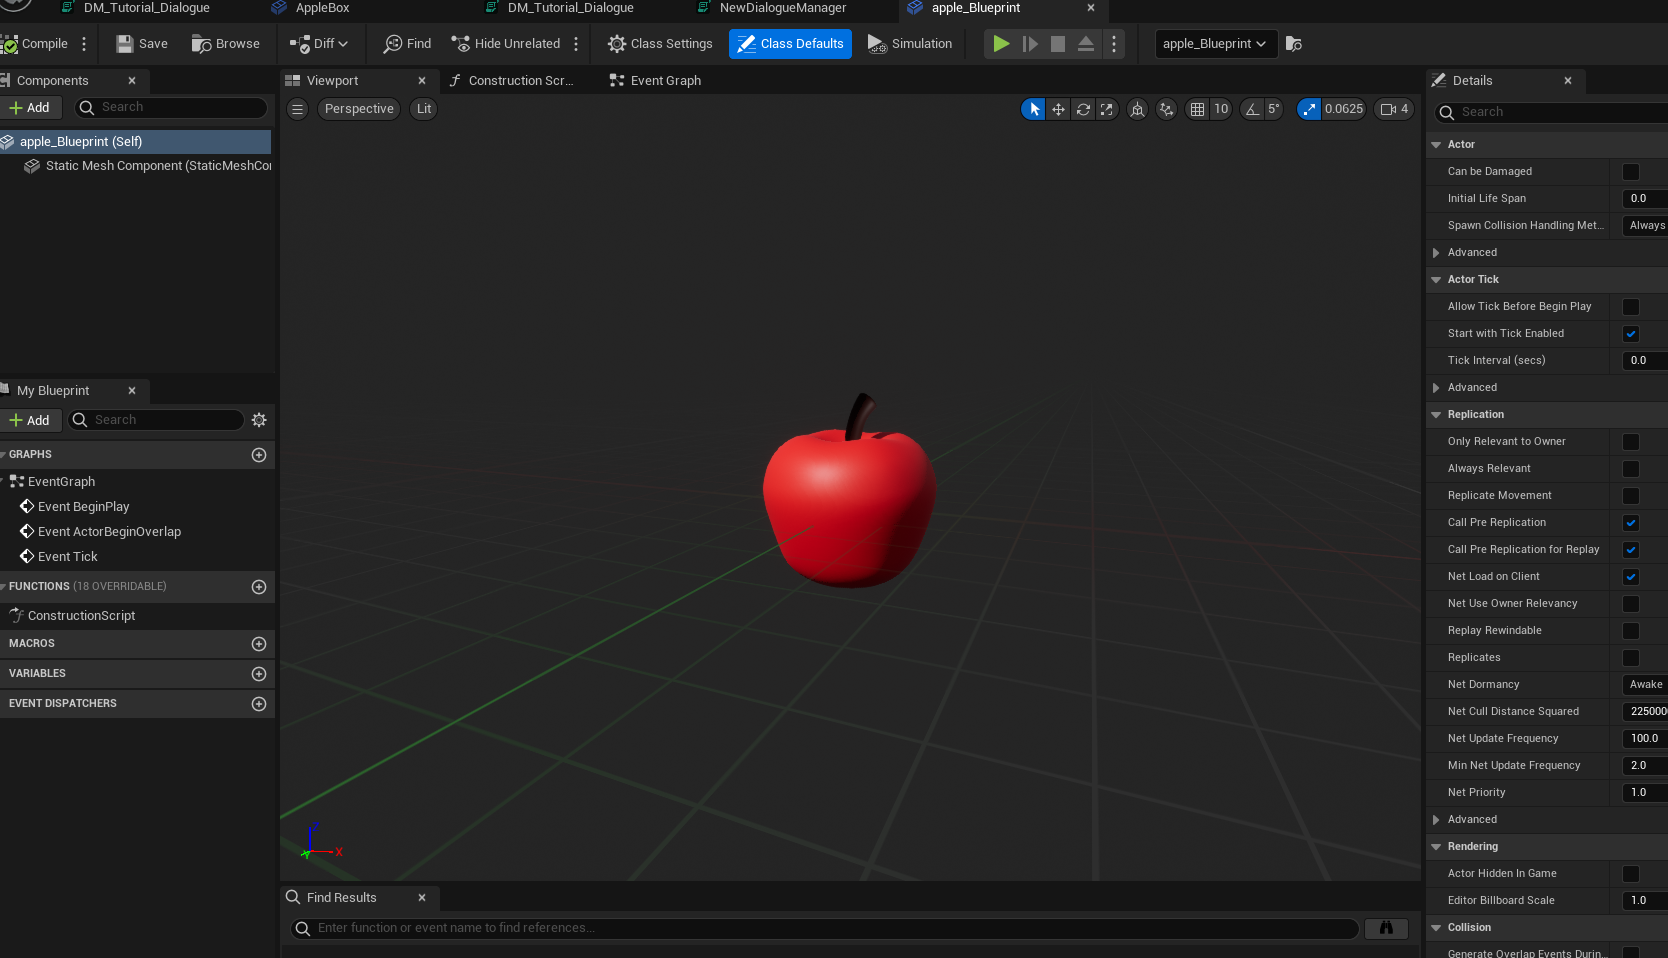
First, let's make an apple actor class for the situation.
And now let's make a box that player must to put the apples at.
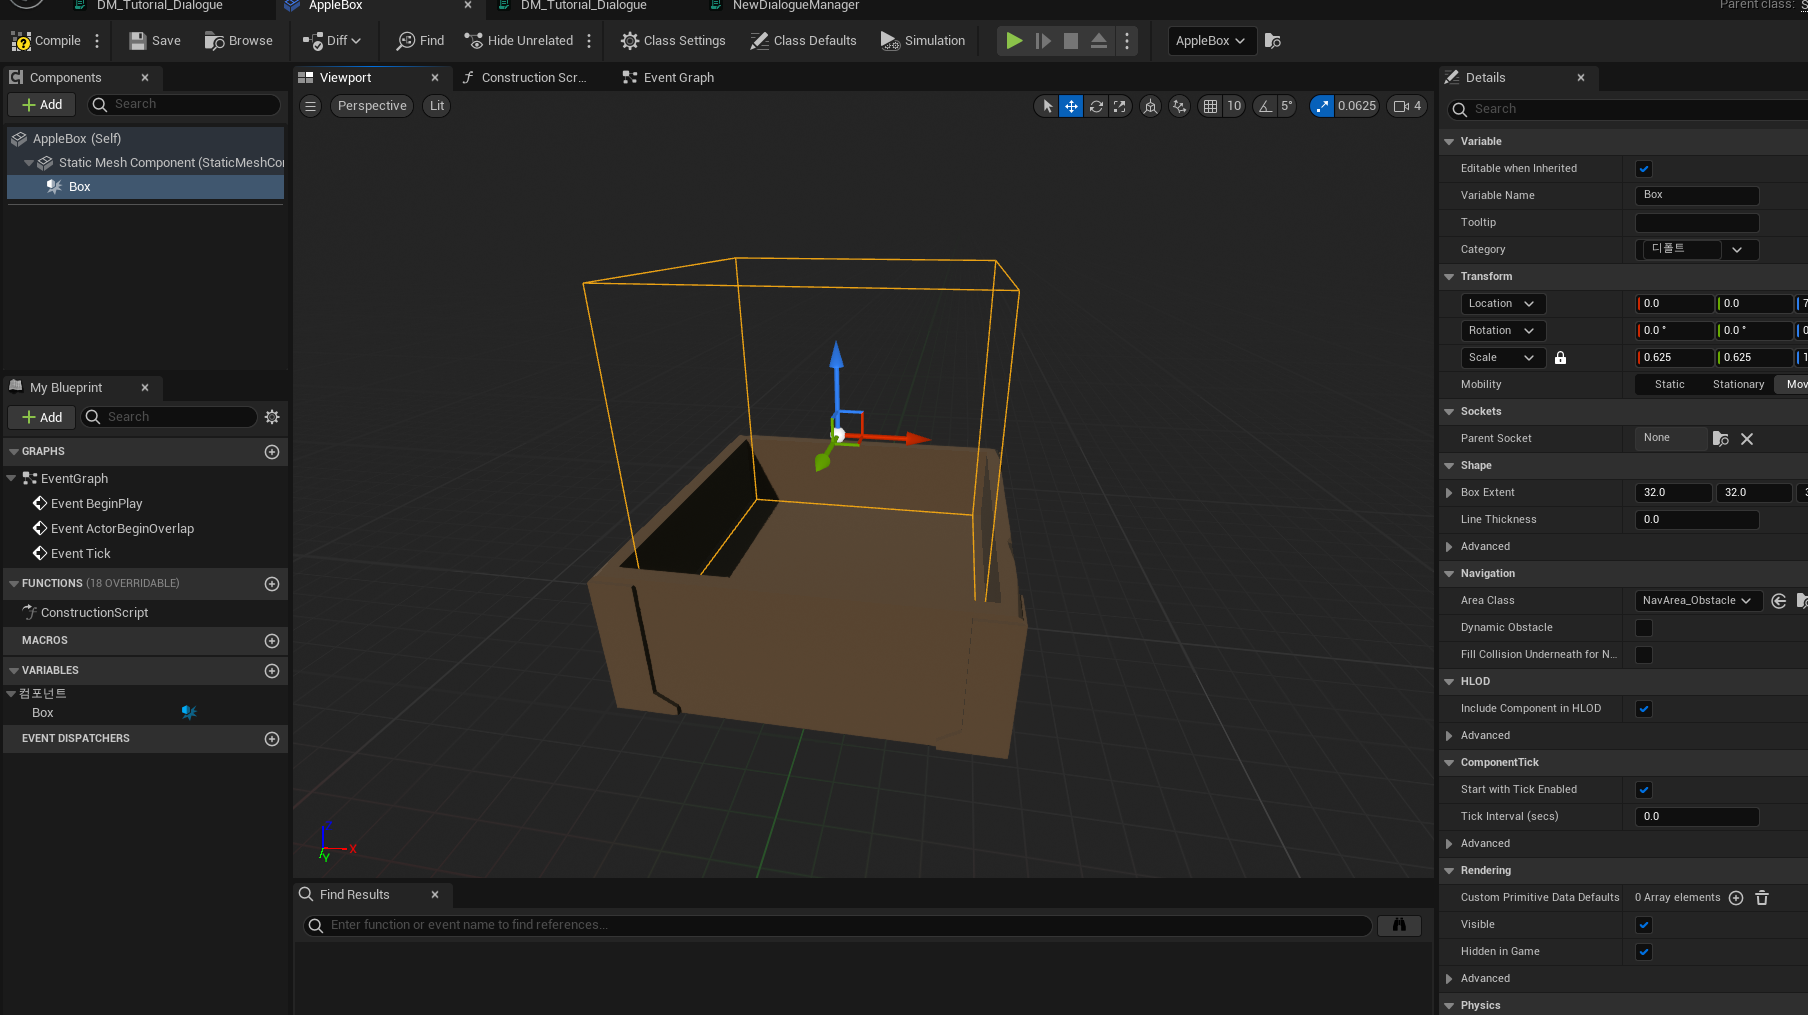
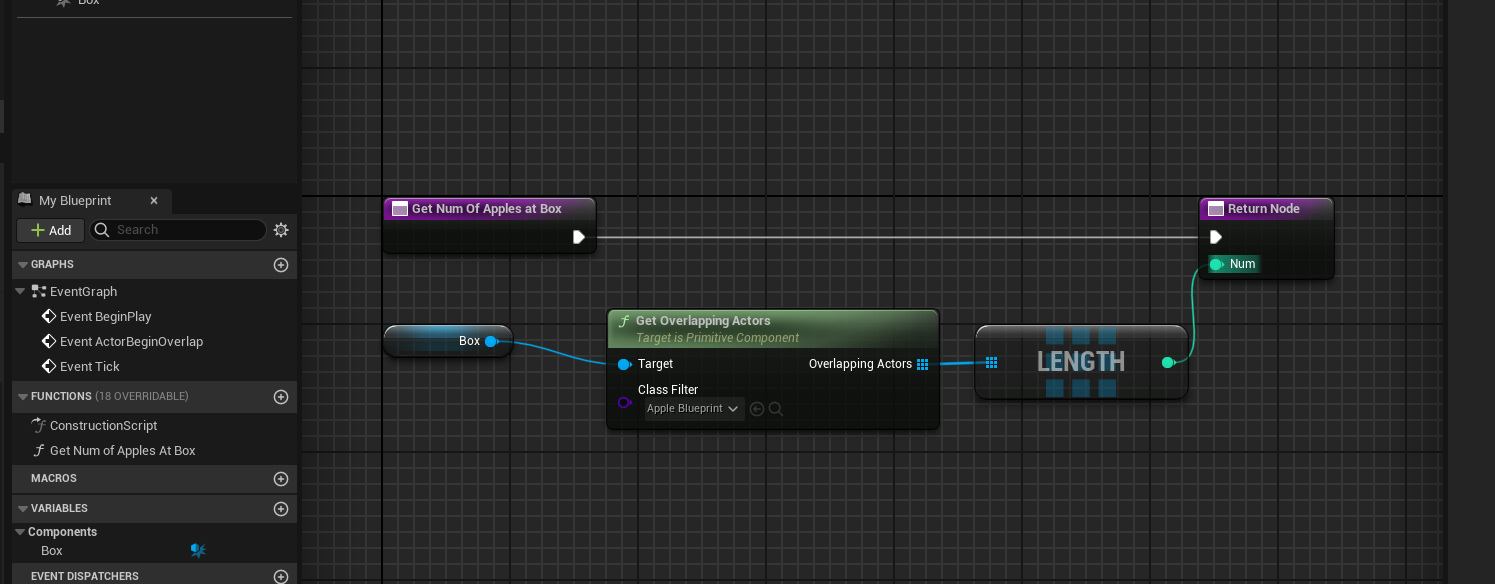
Simply added a box collision and implemented a simple function that checks the count of the apples in the box.
Now, let's implement the logic for the condition!
So, the condition's test should be passed only if the score is higher than the value we specify.
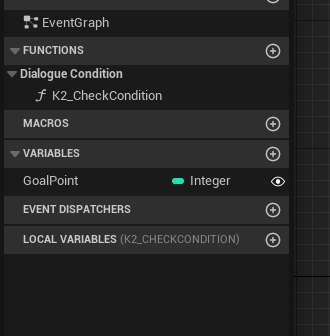
To implement this logic, let's create a property on the condition to store the goal score that will be used as a threshold for the condition execution, and make it public by pressing the eye icon on the right side of the property row to display it in the Dialogue Manager editor.
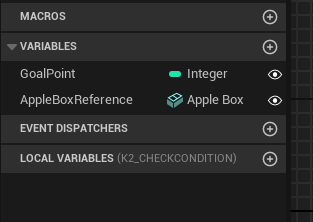
And also add the soft reference for the apple box we will check.
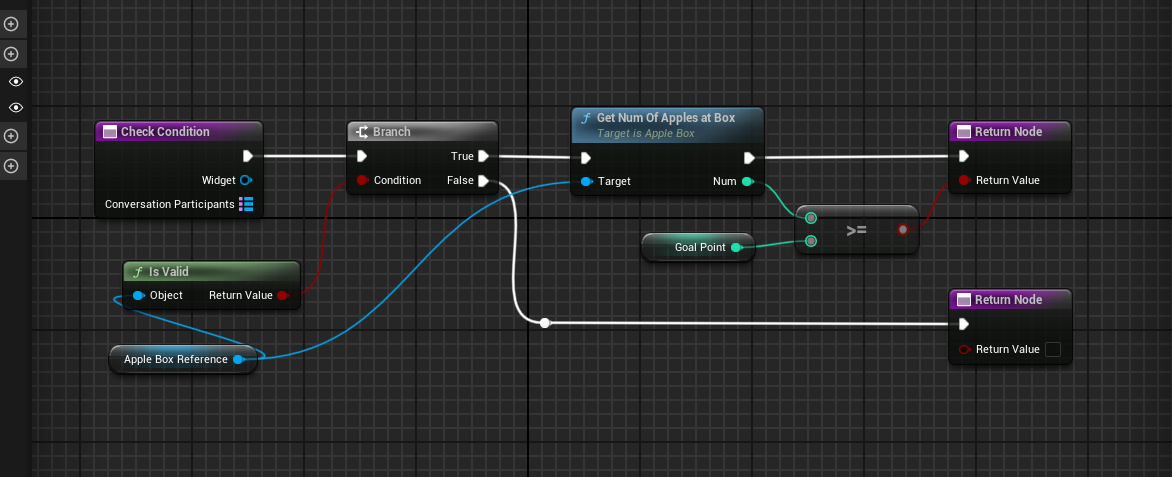
And go to the overrided function CheckCondition and attach a logic that checks whether the count of the apples is higher than we specified.
Now, let's attach the created condition to a node in the manager.
Click on the node, add a new element to the Instanced Conditions property in the Conditions section.

Now, select our condition in the element row we just added.
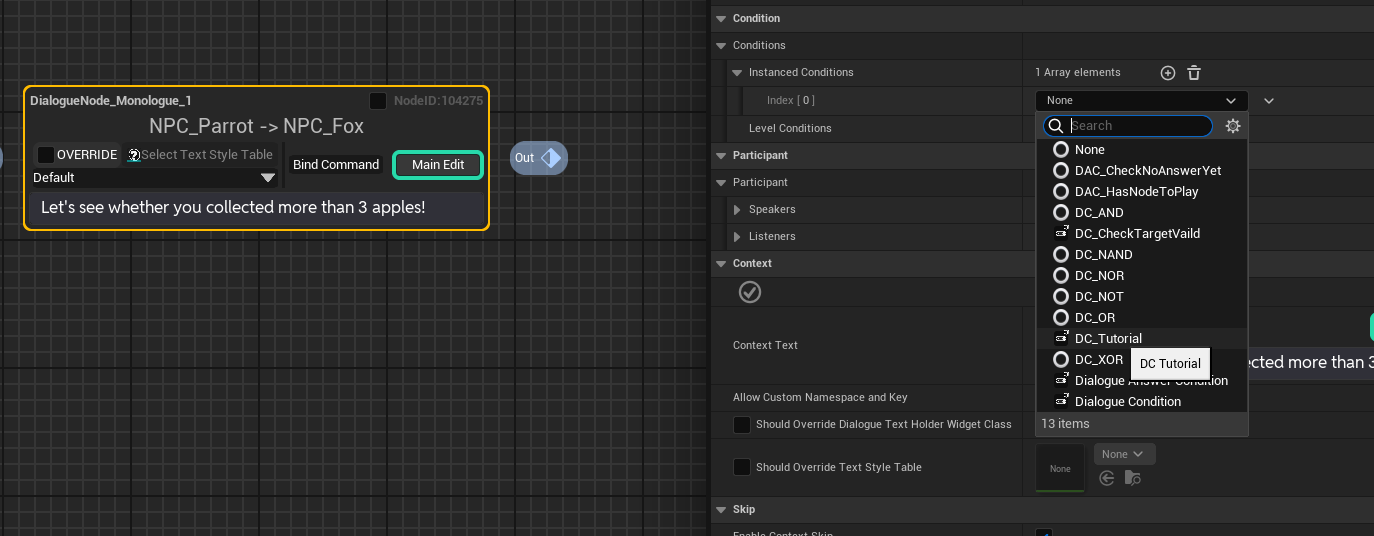
You can see that a condition instance is attached to the node instance, and also the property we added is being displayed on the editor. Now, set the goal score for this condition. In this example, let's set it to 3.

also, specify the apple box in the level to use in the condition test.
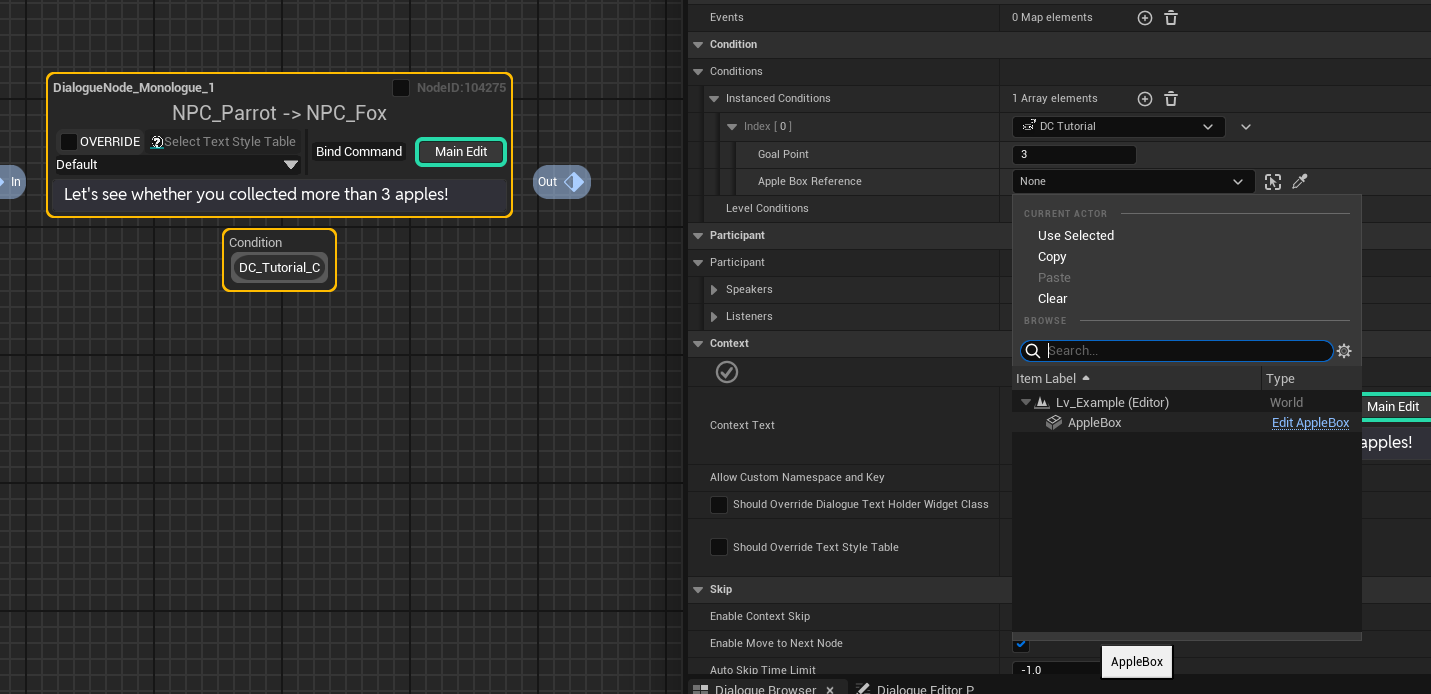
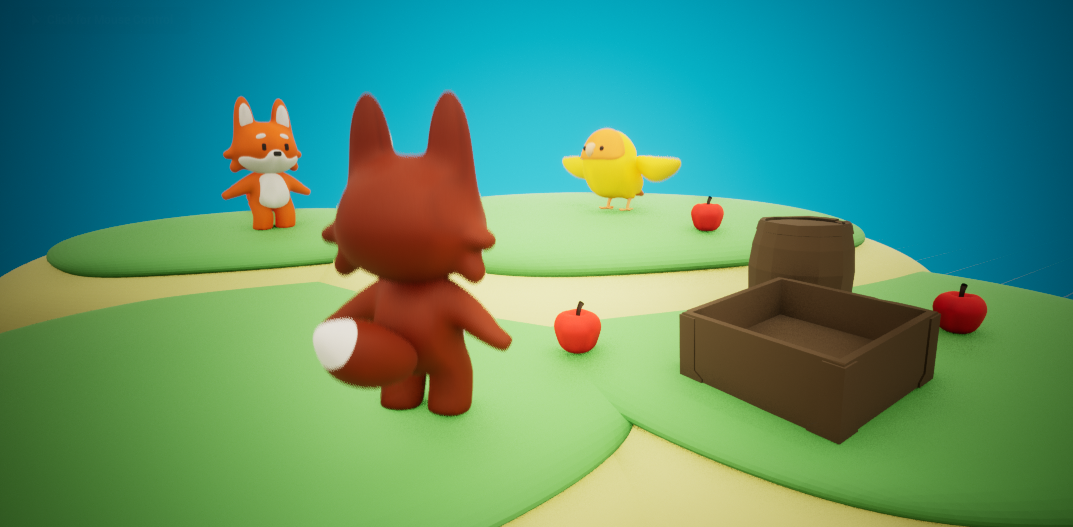
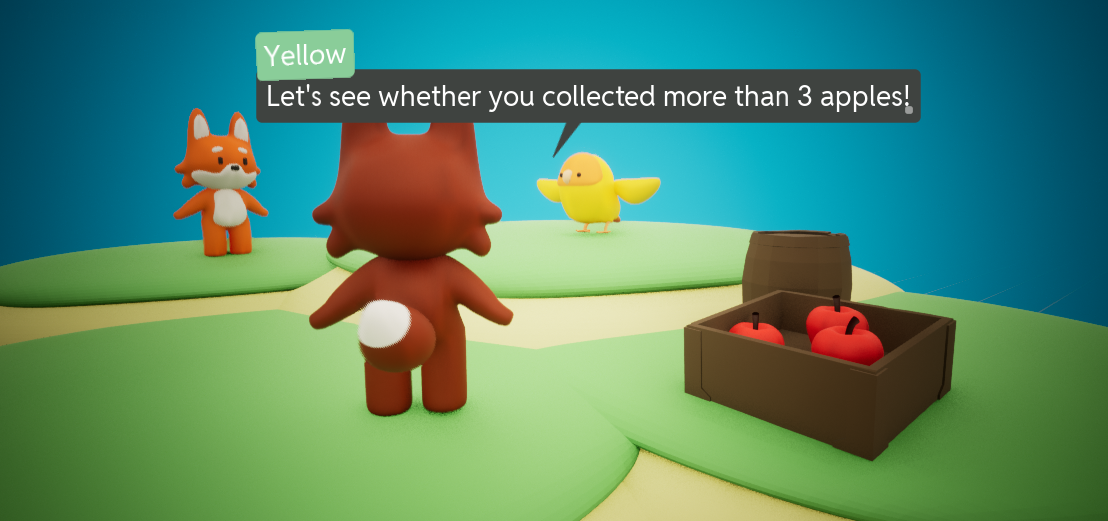
If you play this dialogue, you'll see that the node be played only when the current score is higher than the specified 3.
With Node Priority Feature
But we're not done yet. Utilize the node priority feature to specify another node to play if this node execution fails. This allows you to display a message to the player indicating that the score is lower than the specified value.
Connect another node to the pin where you attached the condition. You can see a number displayed in the top right corner of the node.
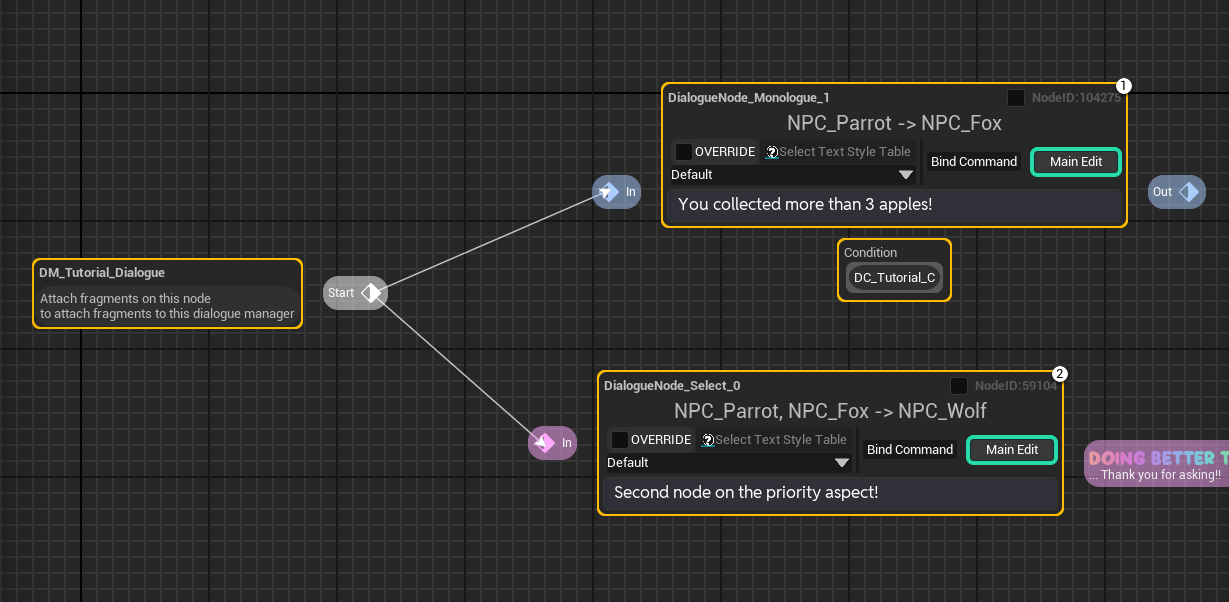
Lower numbers indicate higher priority. When a dialogue is played, nodes with higher priority are tested first. If a node with higher priority fails the test, the system tries the next one with lower priority. If all nodes fail, the dialogue ends.
For example, Let's attach more nodes on there and attach the same condition but with 2 as goalscore to the node with second high priority.
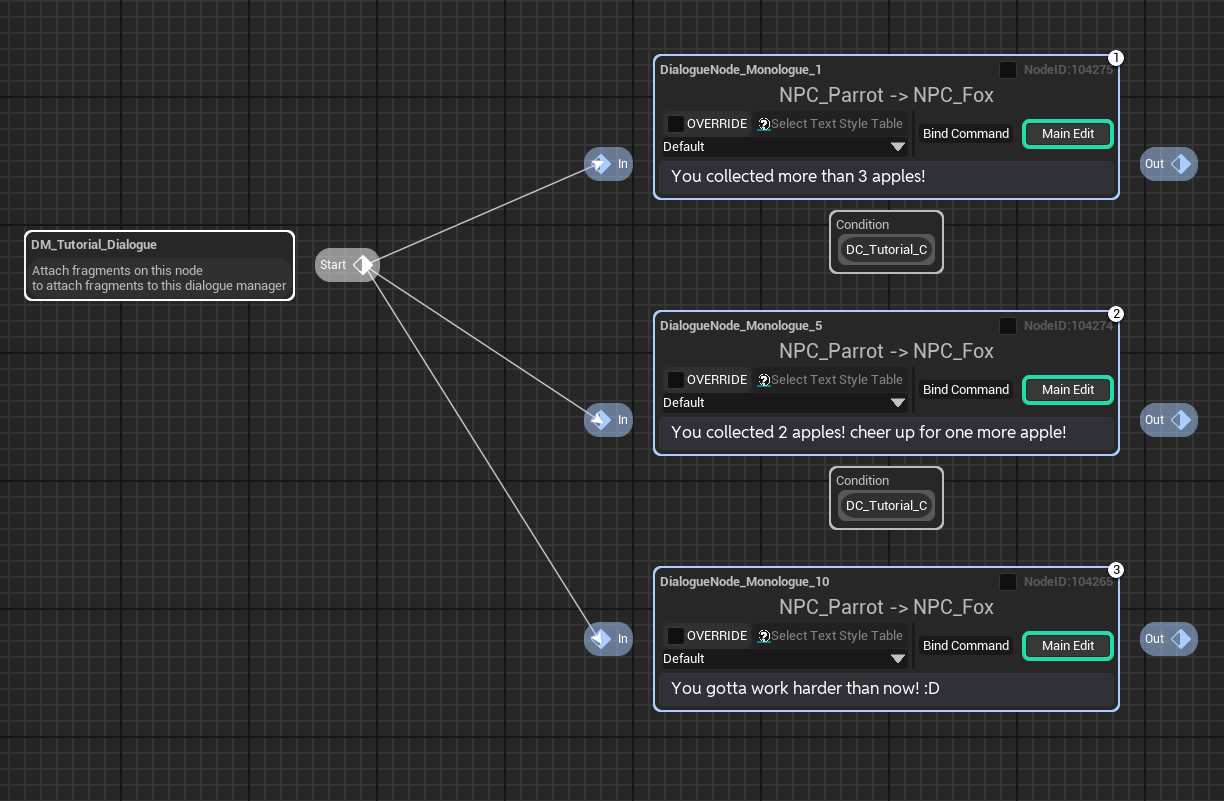
By setting it up this way, if the count is higher than 3, it will play the first node, and if not and the score is higher than 2, it will play the second node (node with "You collected 2 apples"), and if less than that, the node with the lowest priority (the node with "You gotta work harder than now").
With Branch Node
Alternatively, you can use the Branch Node to control branching based on the success or failure of a specific condition.
If we replace the logic we just created with a Branch Node, it would look like this:
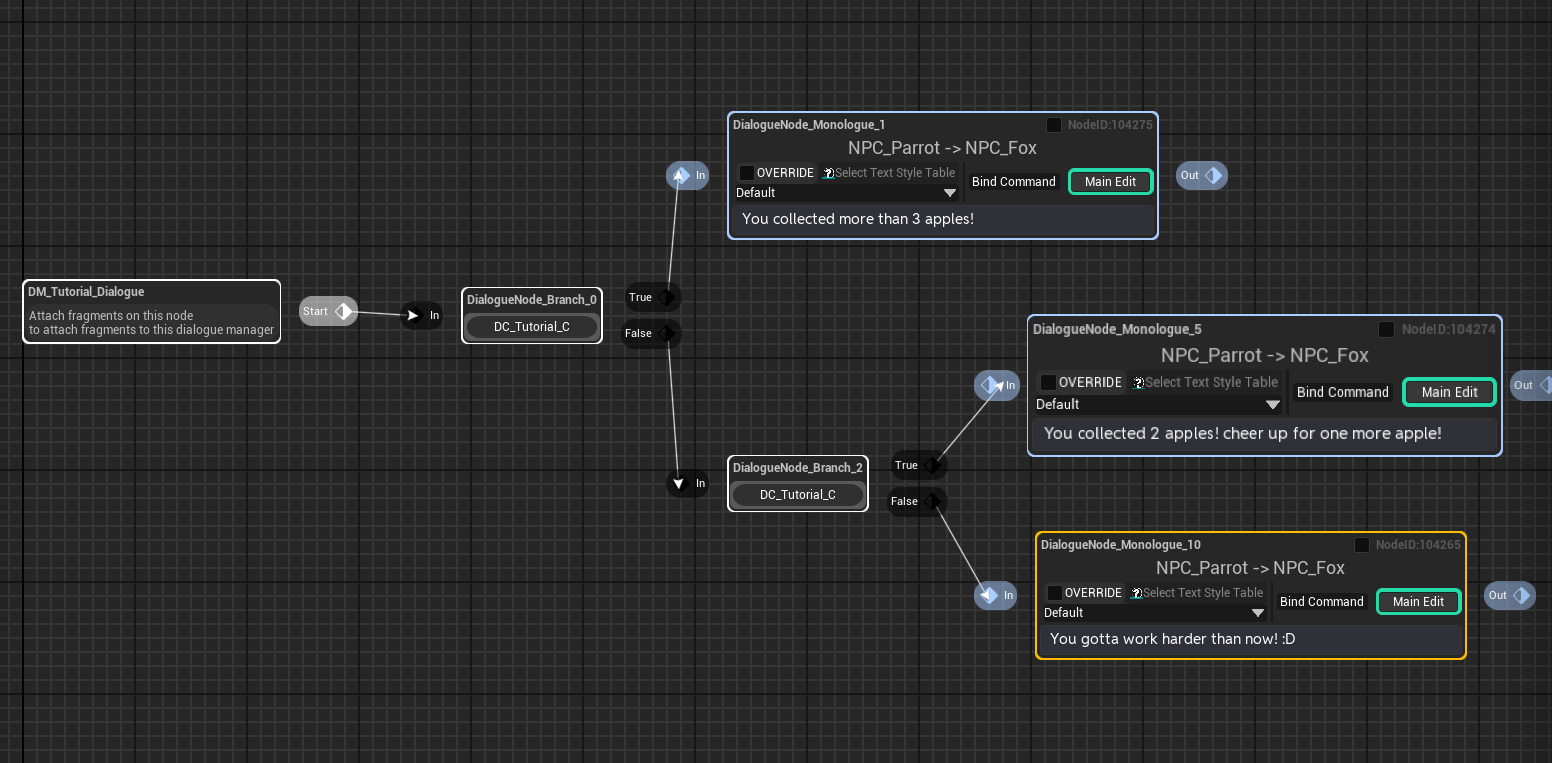
Attach our newly created condition to the Branch Node. Connect the test success node to the true pin, and the test failure node to the false pin.